Sunday, June 20, 2010

Kent Display Driver

I finally managed to finish the basic interfacing of my 320x240 Ch LCD Kent Display to my Arduino, hardware issues and work busyness have been slowing me down. For now it just includes the SPI functions from the datasheet. Next, I will be adding some higher level functions to draw, write text, etc. The biggest issue I encountered was getting a good connection between the Duemilanove pins and the breakout board from Sparkfun. I ended up buying a Screw Shield and then soldering a piece of protoboard to the header that I soldered to the breakout board. All of the commands seem to be getting to the display now! Here's a video of the test code in action!
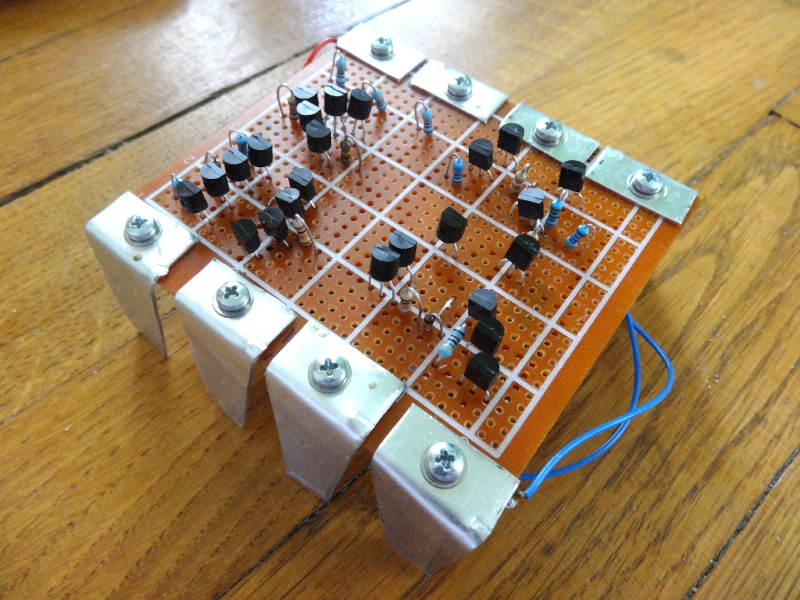
Here's the (working) hardware connection:
Here's a shot of the screen after a full refresh running the test code (since my video camera is cheap and you can't really see it in the video):
The driver with the test code is located at my code hosting blog: A1 Code, I'm trying to come up with a better means of sharing my code as the tabbing and formatting is kind of messed up but it does work if it is copy-pasted from the blog.

Sunday, June 6, 2010

Acrylic Prototyping Board

So I've been working on my Kent Display driver but had a hardware connection failure between the female header pins on my Arduino and the male/female jumper wires that Sparkfun sells.  Turns out the connection is a little too loose and now I have to hold the jumpers sideways to get any communication to work and even then it is unreliable.  So in the meantime while waiting for my ScrewShield to show up and make a solid connection I put together an acrylic back-plane for my breakout boards/breadboards to sit on. All you need is a piece of Acrylic (mine is 25x50cm), some small bolts (3mm ones are nice for the 2 bigger holes in the Arduino Duemilanove) to attach whatever boards you're planning on using, and (optional) some sticky anti-scratch feet for the bottom (so your wife doesn't get mad about her dining room table getting destroyed!).  For tools you will just need a drill, bit, and maybe some pliers for the bolts.
Marking the Acrylic for drilling is easy since you can see through it.
Just gotta add the feet and the sticky back breadboard.
 Finished product with plenty of room to add more later!